How to Wear
How to Tie an Obi: Step-by-Step Guide
⚡ Réponse rapide
To tie a standard obi, wrap the belt around your waist twice, ensuring the ends are even. Cross the right end over the left, pull tight, and create a knot. For a formal look, fold the remaining fabric into a neat bow at the back, securing it firmly against your waist with a small cord or clip.
Understanding the Obi
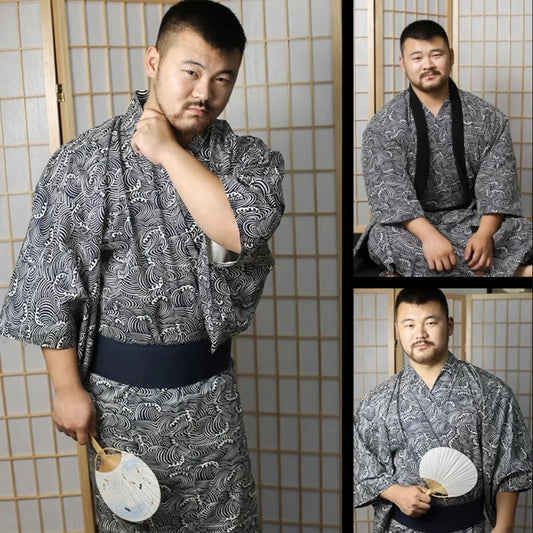
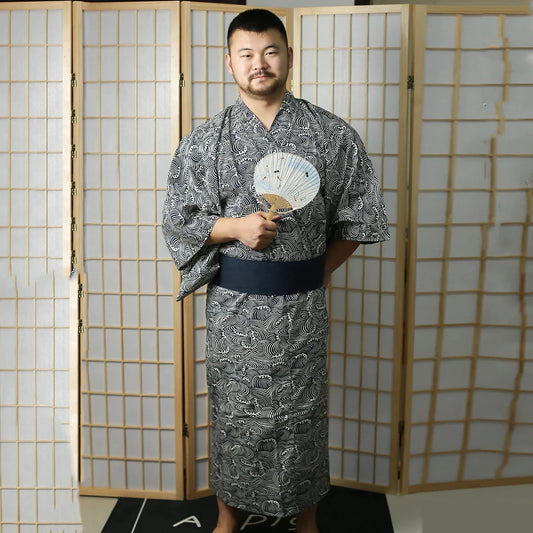
The obi is far more than just a belt; it is the structural and aesthetic centerpiece of Japanese attire. Whether you are wearing a casual Yukata or a formal piece, the way you secure your sash defines your silhouette. Understanding that the obi acts as a corset-like support means you should aim for a firm, snug fit that doesn't restrict your breathing but keeps your Japanese Kimono perfectly positioned.
There are various types of sashes available, ranging from the soft, casual Yukata Obi to the more structured Hanhaba Obi. In the United States, enthusiasts often start with a half-width belt, which is much easier to manage for beginners. Mastering this skill allows you to transition from a loose robe style to a crisp, traditional look that highlights the craftsmanship of your garment.

Preparation Tips
Before you begin tying, ensure your kimono is adjusted correctly. The collar should be slightly pulled back at the nape of the neck, and the fabric should be smoothed across your torso. Use a small belt or a piece of cloth to secure the kimono under the area where your obi will sit; this prevents the garment from shifting while you work on your knot.
Standing in front of a full-length mirror is essential for precision. Many practitioners find that using a Obi Sash makes the process significantly smoother, as the material is designed to grip itself slightly, reducing the risk of slippage. Keep your posture upright—your core stability is the secret to a perfectly tied sash that stays in place throughout the day.
Pro Tip
If you are struggling with the length, remember that the obi should be wrapped twice around the waist. If your belt is extra long, don't panic—simply fold the excess into the inner layers of the wrap.
Basic Knot Technique
Start by holding the obi at the center of your stomach. Wrap the ends around your back and bring them to the front again. Cross the right end over the left and pull firmly. This initial tension is the foundation of a secure knot. You can then fold the top end down and loop it through, creating a clean, flat knot that sits comfortably against your midsection.
For those who find manual tying complex, an Obi Tie or a pre-tied version can provide the same visual elegance without the learning curve. However, learning the manual method connects you to the history of the garment. Practice this sequence at least five times without a kimono first to build muscle memory before trying it with your favorite Floral Kimono.
80%
Stability increase with proper tension
100%
Traditional aesthetic appeal
25+
Days for tracked shipping
Choosing the Right Obi
Selecting the correct sash depends on the occasion and the garment style. A Japanese Obi made of silk is ideal for formal events, offering a luxurious sheen and stiff structure. For daily wear or summer festivals, cotton blends are more breathable and easier to wash. If you are browsing for the perfect match, consider the color palette of your existing Womens Kimono collection.
When shopping, check if your item is part of a set or if you need to purchase the sash separately. Many people prefer to mix and match textures—pairing a solid-colored belt with a patterned robe is a timeless choice. Always look for durable stitching, as the tension required to tie a secure knot can put stress on the fabric over time.

Styling and Maintenance
Once tied, the obi should be rotated so that the knot sits at the back. This subtle movement is a classic part of the dressing ritual. To keep your sash in pristine condition, avoid folding it tightly for long-term storage; instead, roll it loosely to prevent permanent creases. If you notice minor wrinkles, a gentle steam iron on the appropriate setting usually restores its original shape.
The true beauty of a kimono lies not just in the fabric, but in the intentionality of every fold and knot of the obi.Traditional Artisan
Remember that accessories like Kimono Jacket styles can also be cinched with a decorative sash to create a modern, fusion look. Keeping your accessories clean and properly stored ensures they last for years, maintaining the value of your investment.
Maintenance Note
For silk obi, professional dry cleaning is recommended. Cotton or polyester blends can often be hand-washed with mild detergent and air-dried away from direct sunlight.
Common Mistakes to Avoid
The most common error is failing to tighten the base wrap sufficiently. If the first wrap is loose, the entire knot will eventually sag. Another mistake is using a belt that is too short or too long for your frame; always measure your waist and check the length specifications before purchasing. Finally, ensure your Traditional Kimono is properly pinned or tied with a smaller inner cord to prevent unwanted exposure.
- Always check the symmetry of the wrap before finishing the knot.
- Ensure the knot is centered at the back for a traditional look.
- Use a small clip to secure the inner end if you are a beginner.
- Avoid over-tightening to the point of discomfort.
Ready to Complete Your Look?
Browse our authentic selection of Japanese sashes and kimonos to find your perfect fit. Experience the elegance of traditional craftsmanship delivered to your door.
Voir la collection →FAQ
Absolutely! While it may seem intimidating at first, tying an obi is a skill that becomes second nature with practice. We recommend starting with a shorter, softer sash to master the knot mechanics in front of a mirror. Once you are comfortable with the basic wrap and knot, you can practice rotating the finished knot to the back. Many users find that using a mirror helps them align the sash perfectly, making it a simple, satisfying ritual to perform solo.
The obi should be snug enough to support your posture and hold the kimono in place, but never so tight that it restricts your breathing. You should be able to comfortably slip a finger between the belt and your body. If you feel dizzy or find it difficult to move, it is tied too tightly. The goal is a secure, firm hold that feels like a supportive corset rather than a restrictive shackle, ensuring you remain comfortable throughout your day.
A standard belt is designed to hold up trousers, whereas an obi is a wide, structured sash designed specifically to hold a kimono closed and define the waistline. Unlike western belts, the obi has no buckle; it relies on friction, knotting techniques, and sometimes a small cord or pin to stay secured. Its width also provides a larger canvas for intricate patterns and embroidery, making it a decorative element as much as a functional one.
While you don't strictly need tools, a few items can make the process easier. Many people use a small, soft inner belt or a sash clip to hold the obi in place while they tie the final knot. If you are a beginner, these tools help prevent the fabric from slipping and ensure your knot stays tight and centered. Over time, as you gain experience, you may find you need fewer accessories to achieve a perfect, professional-looking result.
Yes, incorporating an obi into modern outfits is a popular way to add a unique, fashion-forward touch. Many people wear a wider obi over a dress or a long shirt to cinch the waist and create an elegant, structured silhouette. It acts as a statement accessory that bridges the gap between traditional Japanese aesthetics and contemporary Western style. Just ensure the fabric of the obi complements your outfit's color scheme and texture for a cohesive, stylish look.
Tags:
Previous
What Is a Haori? Meaning, History & How to Wear One
Next
How to Fold a Kimono Properly (and Store It)
Related articles
-
Oct 23 2026
Kimono Layering: Combining Traditional & Modern Pieces




-
Oct 23 2026